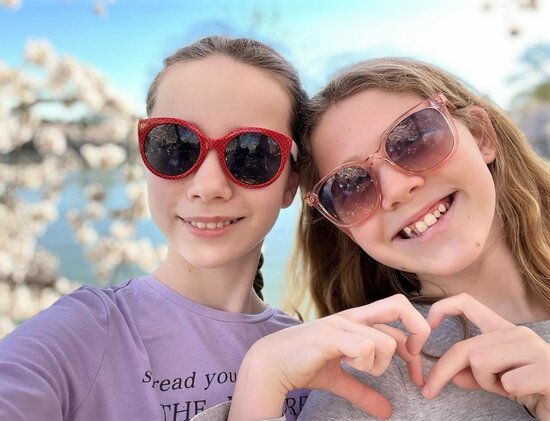
Happy Easter All! Today I wanted to share a bit about a unique experience Nia and I got to take part in last weekend. As I’ve mentioned before, Nia’s public school is the equivalent of a mini United Nations–a diverse mix of kiddos from different religious, cultural and socio-economic backgrounds. It’s a wonderful environment for her to be immersed in and has a very similar feel to what she’s experienced at International Schools abroad. One of the good friends she’s made–a lovely girl named Zlata–is from Ukraine and is posted to D.C. for several years while her Mom works at the Ukrainian Embassy. Here’s a sweet picture of Nia and Zlata together. They’ve only known each other 4 months and are already the best of friends. :)
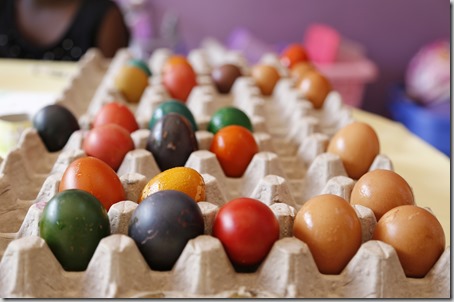
Because of Nia’s friendship with Zlata, we were invited to attend an Easter Egg-decorating event hosted by the Ukrainian Embassy. This wasn’t your typical Easter Egg-dying though. Instead, we learned how to make Pysanky–or Ukrainian Easter Eggs–that are slowly and meticulously crafted using a wax-resist method and multiple rounds of dying.
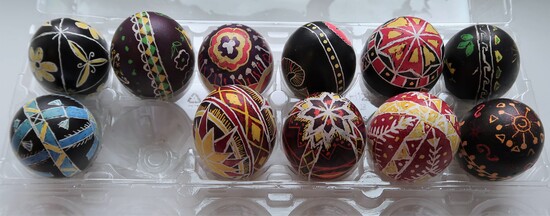
First, a bit of background on the Pysanky practice. The art of Pysanky originated within Slavic cultures and dates back to pre-Christian times. In those days, eggs were decorated in vibrant colors to celebrate the first day of spring. As Christianity became more widespread, Christians kept the egg-dying tradition but changed the symbolism slightly (rebirth of man vs rebirth of nature), morphing it into what we know as the modern Easter Egg. However, the Pysanky tradition has great meaning for many countries and is widely practiced in many Central and Eastern countries to this day. The word Pysanky comes from the verb pysaty, “to write”, as the designs are not painted on, but written with beeswax. Pysanka is often taken to mean any type of decorated egg, but it specifically refers to an egg created by the written-wax method and utilizing traditional folk motifs and designs.
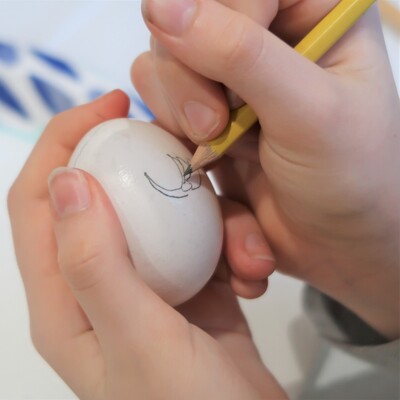
The first step is to draw your design on a raw egg. Rubber bands were helpful for those trying to draw straight-ish lines on their eggs. Pysanky eggs are passed down from generation to generation, so I was surprised to learn that a raw egg was used. I was told it would dry out in time, though an alternative is to blow out the contents first and then reseal the hole with beeswax before dying.
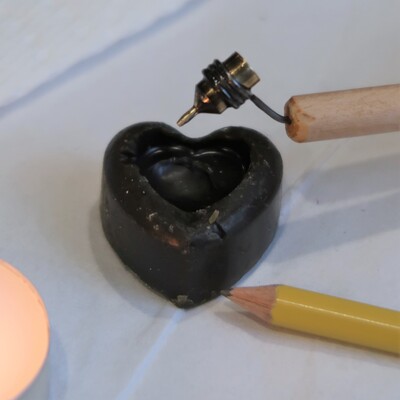
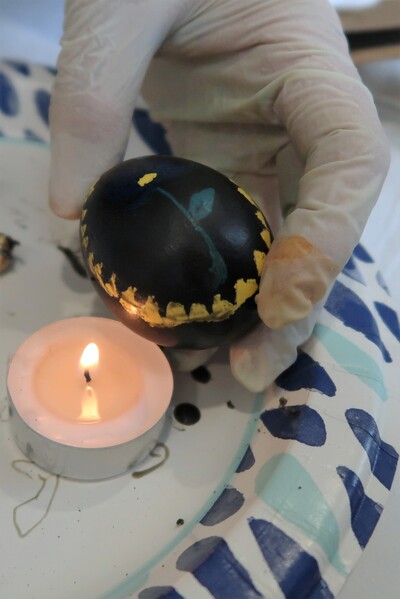
The next step is to heat up the kistka, the tool used to apply melted wax to the egg. Once the kistka is good and hot, you use it to gouge some wax from the beeswax puck. It begins dripping out in seconds, so you have to move fast in this step. It’s likely you’ll need to refill a couple times to get your entire design applied.
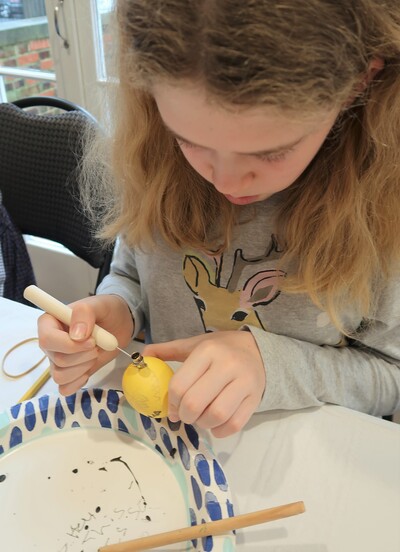
Nia chose to do an all-over dye in yellow first, so below you’ll see her applying her wax atop that coat.
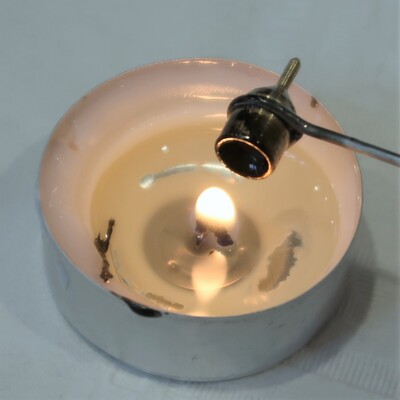
She then proceeded to layer on several more dye colors, adding wax between each one. The dye needed to be applied from lightest to darkest. Once the final dying was done, she then need to remove the wax by warming it over the tea light candle. Here’s how Nia’s egg turned out. It’s a bit hard to see, but she drew a blue flower. The black and the blue ended up being a bit close in color.
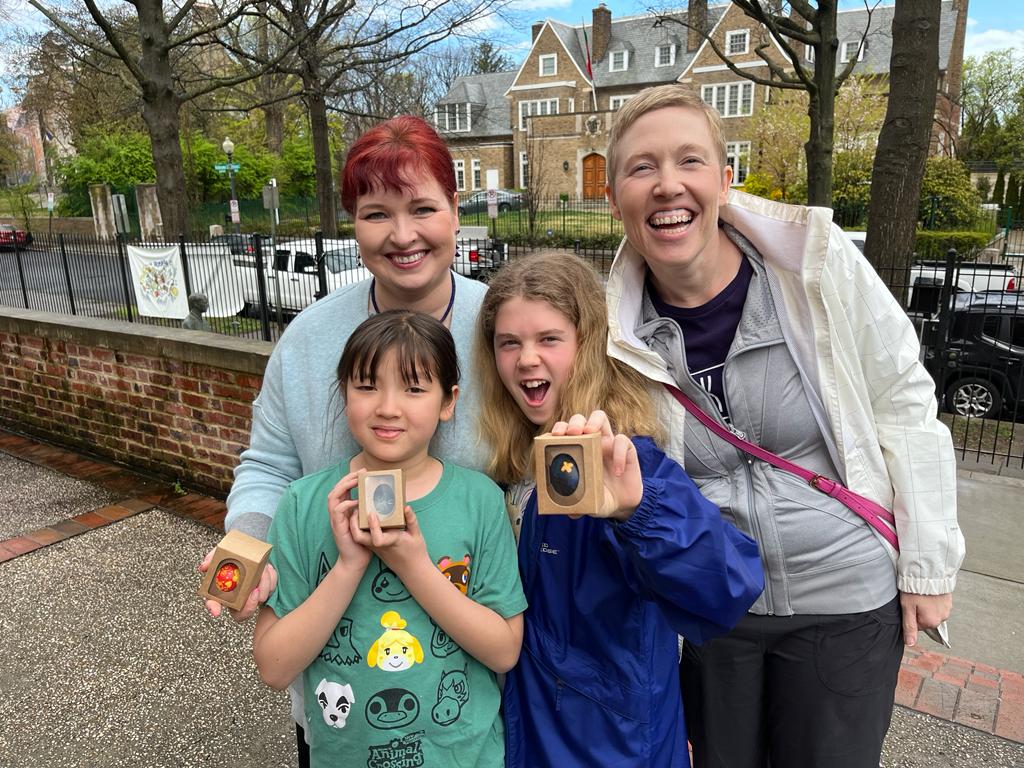
Zlata ended up getting sick and not being able to make it, but another of Nia’s good friends and her Mom were able to join us. Here’s our group showing off the finished product. You’ll note that I do not have one . . . I did not have the patience to tackle that intricate of a design. I’d much rather take pictures!
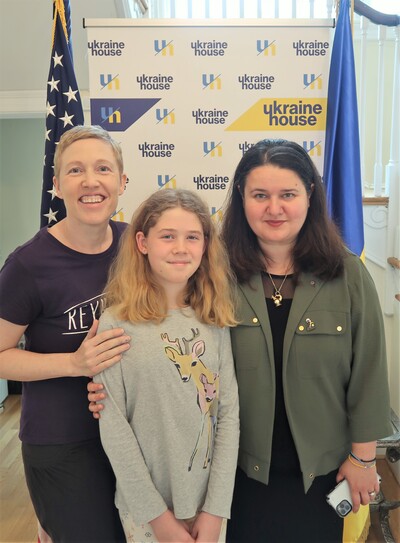
A fun bonus was that we got to have our picture taken with the Ukrainian Ambassador!
If this looks cool to you, search online for kits that you can buy to make your own. It took Nia close to 90 minutes to do one egg, but she said it was a lot of fun.